
 English
 Español
 Deutsch
Chat on WhatsApp
+1 (617) 987-7432
You have finalized the artwork, selected the material structure, and signed off on the sample. Then the first bulk shipment arrives — and something is wrong. The pouches have wrinkles. The seals look weak. The color is off. Or worse, bags are leaking.
Packaging problems are not just cosmetic. They affect shelf life, shipping safety, brand reputation, and customer satisfaction. A single defective batch can cost thousands in rework, lost product, and damaged customer relationships.
The good news: most of these problems can be caught and corrected before mass production — if you know what to look for and ask the right questions.
This guide walks you through the ten most common flexible packaging defects from a buyer's perspective. For each defect, we explain: What does it look like? Why does it matter to your brand? What causes it? And most importantly, how can you prevent it before production ramps up?
A packaging defect is never just a "manufacturing issue." For your brand, the real cost shows up in multiple ways:
Poor shelf appearance — Wrinkled, deformed, or poorly printed pouches look cheap. Consumers judge product quality by the package before they even read the label.
Customer complaints and returns — Leaking bags, hard-to-open zippers, or burst pouches lead to negative reviews and lost repeat business.
Reduced shelf life — Pinholes or barrier failures let oxygen and moisture in, spoiling coffee, pet food, or supplements faster than expected.
Filling line downtime — Wrinkled or deformed pouches can jam automatic filling equipment, costing time and money. A single jam can stop an entire production shift.
Shipping damage — Bags that burst during transit create mess, waste, and returns. Damaged packages in a carton often ruin neighboring products, too.
Brand trust erosion — If consumers can't trust your packaging to protect the product, they won't trust your brand.
Many of these problems are preventable. The key is to identify them before production ramps up — at the material selection, sampling, and pre-production testing stages.
To understand how material structure choices affect overall pouch performance, review WIZ Packaging's range of Recyclable & Sustainable Packaging options.
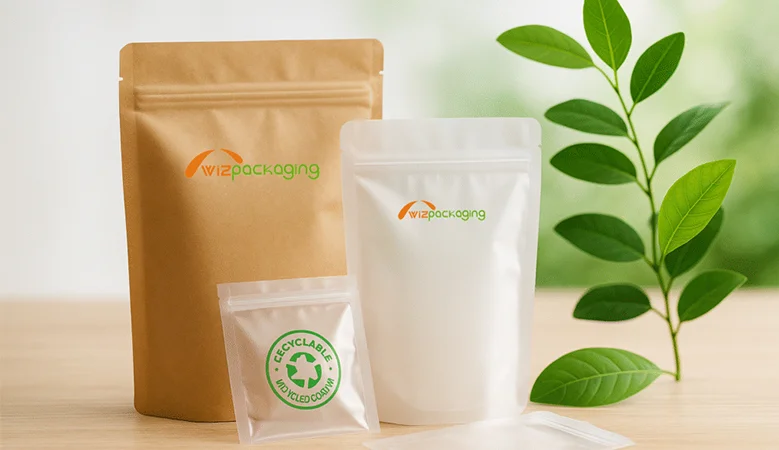
What it looks like: Uneven creases, ripples, or wave-like lines on the pouch surface, especially near seals or gussets.
Why it matters to you: Wrinkles make packaging look cheap and unprofessional. On a retail shelf, a wrinkled pouch signals poor quality before the consumer even reads the label. Wrinkles can also interfere with automatic filling lines — pouches that don't lie flat may not feed properly, causing downtime. For brands using high-speed filling equipment, this is a production efficiency risk, not just an aesthetic issue.
Common causes:
Improper material tension during printing or lamination
Incorrect heat seal temperature or pressure
Insufficient material stiffness (film too thin or soft for the pouch size and product weight)
Compression during shipping and storage
What to ask your supplier: Request samples from early production runs and inspect them visually under good lighting. If wrinkles appear, ask about material tension controls and heat seal parameters. For heat seal portions, excess heat can cause crater-like recesses and wrinkles — confirm that sealing conditions are optimized for your specific film structure.
What it looks like: The layers of the laminated film separate from each other — you may see bubbles, peeling, or the layers coming apart at edges or seals.
Why it matters to you: Delamination is a serious defect. It doesn't just look bad — it compromises the entire barrier structure. If the layers separate, oxygen and moisture can enter, destroying shelf life. For food, coffee, and pet food brands, this means spoiled product and angry customers. Delamination also raises safety concerns — consumers may question whether the packaging is safe for food contact.
Common causes:
Incompatible materials that don't bond well together
Adhesive not fully cured (adhesives typically need about three days to cure at room temperature)
Contents containing oil, alcohol, or acids that attack the adhesive over time
Wrong adhesive type for the specific material combination
What to ask your supplier: Ask about adhesive type, curing time, and material compatibility testing. Request bond strength test results (peel strength). If your product contains oils or acidic ingredients, confirm that the adhesive is compatible and that cure time allows for full cross-linking before filling.
For more guidance on selecting the right material structure for different product types, explore WIZ Packaging's Flexible Packaging industry application examples.
What it looks like: Small bubbles or blisters between film layers, visible to the naked eye.
Why it matters to you: Bubbles affect appearance — they make the packaging look defective. More importantly, they indicate poor process control during lamination. Bubbles can weaken layer adhesion and create weak points where delamination may start. In extreme cases, bubbles can burst during lamination, leaving voids that compromise barrier performance.
Common causes:
Uneven adhesive coating
Solvent residue — ink or adhesive not fully dried before lamination
Insufficient surface tension on the film (ink or adhesive doesn't wet out properly)
Dust or foreign particles trapped between layers
What to ask your supplier: Request a bubble inspection under good lighting. Ask about adhesive coating methods (anilox roll vs. gravure) and drying processes. If you see bubbles, ask for corrective actions before proceeding. Also, ask about the supplier's dust control measures in the lamination area.
What it looks like: Seals that peel apart easily, are uneven, or have visible gaps. You may also see "crater-like" depressions or wrinkles along the seal area.
Why it matters to you: This is one of the most critical defects. Weak seals lead to:
Leaking — product spills out during shipping or on the shelf
Loss of freshness — oxygen enters, spoiling the contents
Consumer frustration — bags that open prematurely or tear unexpectedly
Seal failure is widely recognized as one of the most critical quality concerns in flexible food packaging, as it directly leads to leakage, loss of freshness, and consumer complaints. For pet food, coffee, and supplements, a weak seal can ruin an entire batch. This is not just a packaging problem — it becomes a food safety and brand integrity issue.
Common causes:
Incorrect heat seal temperature, pressure, or dwell time
Seal area contaminated with product, powder, grease, or moisture
PE sealant layer is too thin or inconsistent across the seal area
Misaligned sealing bars
What to ask your supplier: Request heat seal strength test data. Ask about seal temperature and pressure controls during production — are they monitored and recorded in real-time? If your product is powdery (like coffee or pet food), confirm that the supplier has a process to keep seal areas clean during filling, such as vacuum or gas flushing to clear powder from the seal zone. Seal integrity is decisive for preserving food quality throughout shelf life.
How to test yourself: A simple squeeze test can reveal weak seals — fill a pouch with air, seal it, and apply pressure. If it leaks, seals are suspect. For a more rigorous check, request vacuum leak testing, for which ASTM D3078 provides standardized procedures.
What it looks like: Pouches that leak liquid or powder, burst open during shipping, or show signs of stress fractures along seals or gussets.
Why it matters to you: Leaking and burst bags are the most visible and damaging defects. They result in:
Product loss — the contents are wasted
Shipping mess — leaking product damages other packages in the same carton
Customer returns and refunds — consumers won't accept damaged goods
Negative reviews — one leaky bag can generate multiple bad reviews across different platforms
Common causes:
Insufficient material strength for the product weight
Poor seal strength (as described above)
Inadequate drop or compression testing before production
Pouch design not suitable for the product type (e.g., sharp product edges inside)
What to ask your supplier: Request burst strength and drop test results. A pouch that looks good on a shelf might burst when dropped from a delivery truck. Also consider altitude testing if products ship by air — low pressure in aircraft cargo holds can cause sealed flexible packages to burst. This is a real risk for brands shipping to different regions or exporting.
What it looks like: Tiny holes — often invisible to the naked eye — in the packaging film. They may only be detected through dye penetration testing or oxygen transmission rate (OTR) measurement.
Why it matters to you: Pinholes are dangerous because they're hard to see but ruin shelf life. Oxygen and moisture enter through these microscopic holes, spoiling coffee, freeze-dried pet food, and high-barrier food products. For oxygen-sensitive products, pinholes defeat the entire purpose of high-barrier packaging. This is a "hidden" defect that doesn't show up until the product spoils prematurely on the shelf or in the consumer's pantry.
Common causes:
Film too thin — insufficient gauge for the application
Aluminum foil creases or cracks during pouch formation (especially in gusset areas)
Abrasion during transport or handling
Sharp product contents (e.g., bone fragments in pet food, sharp-edged supplements) puncturing the film from inside
What to ask your supplier: Ask about pinhole testing. If your packaging contains foil, ask specifically about gusset area pinhole prevention — the gusset fold is a common failure point.
How to test yourself: A dye penetration test can reveal pinholes — apply dye to the pouch surface and see if it penetrates to the inside. For a quantitative approach, request oxygen transmission rate (OTR) testing on production samples.
What it looks like: Colors that don't match the approved sample, misregistration (colors not aligned), uneven ink coverage, or "pinholing" (uneven ink distribution in solid areas).
Why it matters to you: Your brand color is your visual identity. If the printed pouch color looks different from what consumers expect, it confuses brand recognition and undermines trust. Printing defects make the packaging look cheap and unprofessional — especially damaging for premium-positioned products.
Common causes:
RGB vs. CMYK color conversion issues — screens display colors differently than inks reproduce
Substrate color affecting the printed result (clear film vs. white film vs. metalized)
Poor ink dispersion leading to weak color strength and shade variation
Inconsistent ink viscosity during printing
White ink problems — if the white underbase is weak or uneven, the final result can look dirty, inconsistent, or the wrong color
What to ask your supplier: Request a printed proof of your actual film material before production. Approve a physical color sample — not just a digital proof. Ask about color measurement (ΔE) and acceptable tolerance ranges. For critical brand colors, use Pantone codes, not just CMYK percentages. If switching materials later, expect color shifts and plan for re-approval.
What it looks like: Ink that rubs off, scratches, or scuffs during handling — especially noticeable on matte finishes, soft-touch surfaces, and dark colors.
Why it matters to you: Scratched or rubbed-off ink makes premium packaging look damaged and second-rate. For brands positioning themselves as premium (craft coffee, luxury pet food, high-end supplements), surface scratches are particularly damaging. The packaging says "premium," but arrives looking "damaged" — a disconnect that frustrates customers.
Common causes:
Insufficient surface protection (no varnish or overprint coating)
Poor ink adhesion to the substrate — ink isn't properly cured, or the film surface energy is too low
Abrasion during shipping — pouches rubbing against each other
Inadequate outer packaging — cartons not providing enough protection or cushioning
What to ask your supplier: Ask about scratch resistance testing. Confirm whether a protective varnish or overprint coating is applied. Discuss packaging and cartoning methods to prevent pouch-to-pouch abrasion during transit. For high-volume orders, ask how pouches are packed — loose in cartons or individually wrapped — and how that affects scuffing risk.
What it looks like: Zippers that are hard to open, won't close properly, separate from the pouch, or don't provide a good seal when closed.
Why it matters to you: Resealability is a key consumer convenience feature, especially for coffee, pet food, and snacks. If the zipper doesn't work, consumers get frustrated. If the zipper doesn't seal properly, the product loses freshness between uses — defeating the purpose of the resealable packaging. For premium products, a bad zipper creates a "cheap" experience that contradicts the brand positioning.
Common causes:
Zipper size or type not match the pouch design
Heat seal position misaligned — zipper not properly attached to the film
The powder or product gets trapped in the zipper during filling
The pouch size too small for the zipper to function properly
Zipper material incompatible with the film sealant layer
What to ask your supplier: Request zipper function testing on sample pouches. Have multiple people of different hand strengths test open/close functionality. If your product is powdery, ask about zipper designs that resist powder contamination — such as zippers with wipers or shields. Also, confirm the zipper is heat-sealed at the correct position and that the zipper material is compatible with your film structure.
What it looks like: Stand-up pouches that won't stand up, flat-bottom pouches that aren't flat, bottom gussets that bulge outward, or pouches that collapse or deform on the shelf.
Why it matters to you: Shelf appearance drives purchase decisions. A pouch that looks misshapen or crushed signals low quality. Deformed pouches also take up more space in cartons and on shelves, reducing logistics efficiency and retail display quality.
Common causes:
Insufficient material stiffness for the product weight — film gauge too low
Poor bottom gusset design — the fold geometry doesn't support the pouch shape
Incorrect pouch dimensions for the contents — pouch too small or too large
Compression during stacking in cartons or pallets — weight of upper layers deforms lower pouches
Inconsistent bag-making tension
What to ask your supplier: Request samples filled with your actual product (or a simulant with the same bulk density and weight) to check standing ability and shape retention. Ask about material stiffness (modulus) and bottom design — different designs work better for different product types. Consider how pouches will be stacked in cartons — deformation from stacking weight is common and often overlooked during sampling.
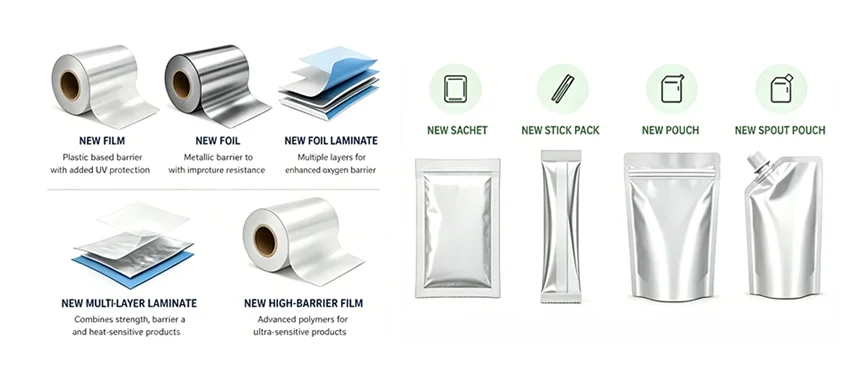
Prevention is always cheaper than rework. Here is a practical checklist for buyers:
1. Know your product inside out – What are you packaging? Powders, liquids, oils, coffee, freeze-dried food, pet food? Each product type has different requirements. Oils and acids can attack adhesives. Powders can contaminate seals. Heavy products need stronger materials.
2. Select the right material structure – Work with your supplier to match the film structure to your product's barrier needs, weight, and filling method. Switching materials later almost always causes color shifts and performance changes.
3. Confirm dimensions, pouch style, zipper, valve, and tear notch before sampling – Changes after sampling are expensive and time-consuming. Get everything locked in during the artwork and sample phase.
4. Check printing colors and surface finish on the actual material – Approve a physical sample — not a digital proof. Check color under standardized lighting (D65). Confirm gloss, matte, or soft-touch finish.
5. Run pre-production tests – Before mass production, request:
Bond strength tests (for lamination)
Heat seal strength tests
Drop tests
Leak tests (squeeze test, vacuum test)
Burst strength tests
6. Confirm your filling method – Are you filling manually or on an automated line? Automated lines are less forgiving — wrinkled or deformed pouches will jam the machine. Share your filling equipment specs with your supplier.
7. Approve a final pre-production sample – Before committing to full production, get a sample from the actual production line — not a hand-made prototype. This becomes your "golden sample" for future batch comparison.
8. Establish quality acceptance criteria in writing – Define what's acceptable and what's not. Set ΔE tolerances for color. Define minimum seal strength values. Agree on visual inspection standards. Document everything before production starts.
Once you have worked through these ten defect areas — and clarified your product type, material requirements, sealing needs, and acceptable quality tolerances — comparing specific packaging specifications and requesting pre-production samples becomes the next logical step.
Work with your packaging partner to establish a quality control workflow that includes:
Material selection based on your product's specific requirements
Pre-production sampling on actual production equipment
Comprehensive testing (seal strength, bond strength, drop test, leak test)
A retained "golden sample" for future batch comparison
Clear quality acceptance criteria documented before production begins
For a deeper understanding of how material choices affect packaging performance, review WIZ Packaging's sustainable packaging materials for food, coffee, and pet food applications.
To see how different pouch structures perform with specific product types — from liquid supplements to dry pet food to oily coffee beans — explore WIZ Packaging’s application examples for Pet Food & Snack.
For more guidance on packaging quality control and color management, see our related guide on Why Color Difference Happens in Custom Printed Pouches.
Chat on WhatsApp
+1 (617) 987-7432